
Since the last post, we have completed a year of successfully RF measurement campaigns. Sadly, the quadcopter featuring in the previous post (FEMU 1.0) underwent an autopilot failure during a measurement dry-run which caused it to fly straight up into the air until its battery died. It has never been seen since. This forced us to build FEMU 1.5 in 3 days. Being a temporary vehicle, FEMU 1.5 was decommissioned shortly after his first measurement campaign (25 flights). All this happened in the earlier part of the year and gave us the opportunity to do a complete redesign which will be discussed in the next post. This redesign formed a large part of my PhD degree and made attempts to break new ground in RF metrology using Multicopters.

Reward if found poster for the disappearance of FEMU 1.0
This was also the start of our quest to 3D print antennas, see the 900 MHz antenna mounted at the bottom.
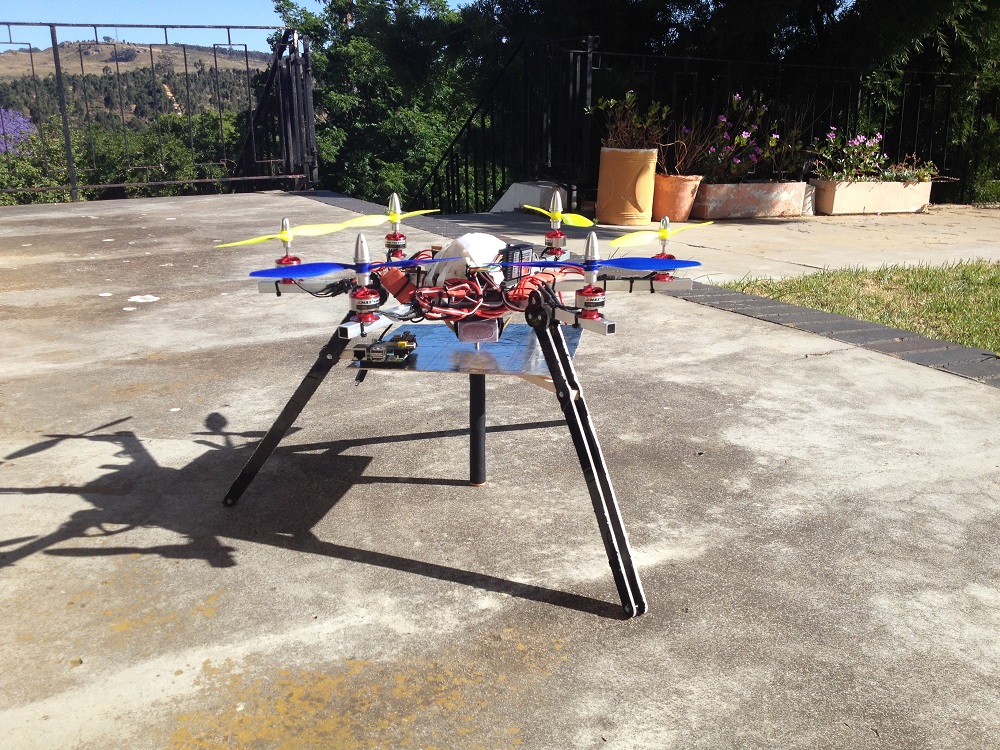
FEMU 1.5 with a 900 MHz antenna